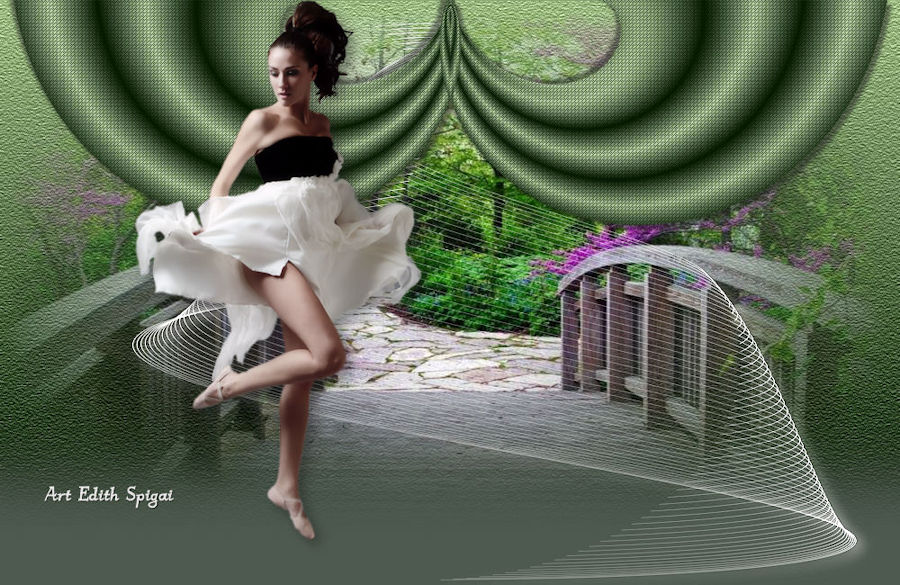
|

**TOP
CAMINHOS DA NATUREZA**
(EdithSpigai)
MATERIAL
-EFEITOS DO PSP_9
-Plugin Flaming Pear > Flexif_2
-Plugin DragonFly > Sinedots_II
-Plugin Texture > Texturizer
-Um Tube Principal
-Um Misted de composição
-Uma mask
ROTEIRO
1- Abrir uma nova imagem de 1000 x 600, preencher com um
gradiente formado por duas cores
compatíveis com seu trabalho nestas configurações.

2-
Effects > Geometric Effects >Perspective - Horizontal >
100 - Transparente.
3- Plugin Flaming Pear > Flexif_2 (na config. do print.)

4-
Image > Resize > 65%
5- Effects > Image Effects > Offset > (-160) - (138) -
Custon e transparete marcados.
6- Layers > Duplicate > Image Mirror
7- Layers > Merge Down
8- Effects > Reflection Effects > Rotating Mirror -
0/180 - Repeat
9- Effects > Texture Effects > Weave > 1/1/100

10-Effects
> Drop Shandows > 5/5/50/5,00 - repetir em negativo
11-Adjust > Brightness and Contrast > Clarify > 5
12- Nova layer > Arrange > Send to Bottom > preencher
com um gradiente
Linear - 0/0 invert marcado.
13- Plugin Texture > Texturizer > Sandstone

14-
Adjust > Sharpen
15- Nova layer > Select All > Past Into Selection do
Misted escolhido,
acomodando-se ao seu gosto.
16- Adjust > Brightness and Contrast > Brightness and
Contrast
na configuração que preferir.
17- Layers > Merge Down
18- Aplicar uma mask gradiente > Merge Group > Duas vzs.
19- Image > Canvas Size com as seguintes configurações:
Width= 1000 e Height= 650
Bottom= 50 / Top, Left e Right= 0
20- Layers > New Raster Layer
Layers > Send to Bottom
Preencha com uma cor capturada do trabalho.
21- Nova Layer > Plugin DragonFly > Sinedots_II

22-
Adjust > Sharpen
23- Effects > Drop Shandows > 8/6/50/35,00 > (Cor
branca)
24- Duplicar a layer do Sinedots (opcional)
25- Merge Visible
26- Aplicar o Tube Principal > Drop Shadow 8/6/50/35,00
27- Adjust > Sharpnees > Unsharpen Mask > 1,00/45/3
28- Layers > Merge > Merge All
29- Assine e salve em jpeg.
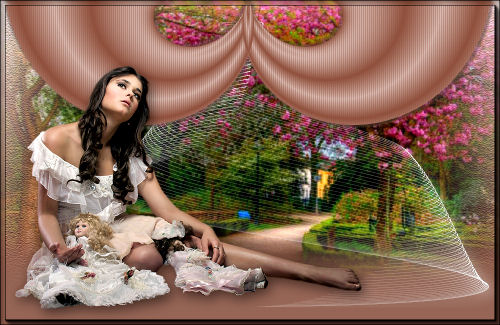
Outro Exemplo


**
Tutorial Readaptado e Elaborado por Edith Spigai **
SP/18-04-2011 - 25/04/2014

Créditos:
Tubes: By Ana Ridzi
Misteds: K@rine Dre@ms / LB Tubes
Criação e formatação: EdithSpigai

 |