|

**CLOCHETTES**
TUTORIAL DE ANIMABELLE _TRADUÇÃO EM PORTUGUÊS
EDITH SPIGAI
"Obrigado Animabelle por permitir traduzir seus
tutoriais em Português
MATERIAL
-PSP_X8
-Flaming Pear
-Plugin Galaxy
-Filters Unlimited 2.0 > Buttons et Frames
-Filters Unlimited 2.0 > VM Texture F
_Filters Unlimited 2.0 > Tile & Mirror
L en K Landksiteofwonders
AAA Frame
ROTEIRO
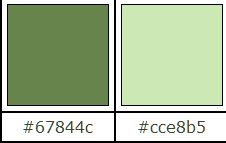
1- Forme um gradiente linear com as cores descritas
(cores opcionais)
2- Abra uma nova imagem de 900 x 600 e preencha com o
gradiente do item 1 (reserve esta layer)

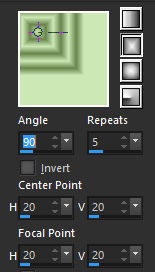
3- Nova layer e preencha com um gradiente rectangular.
4- Effects > Image Effects > Seamless Tiling > Default
Settings
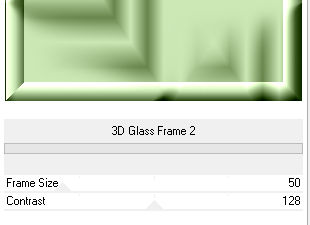
5- Plugins > Unlimited 2 > Buttons and Frames / 3D Glass
Frame 2
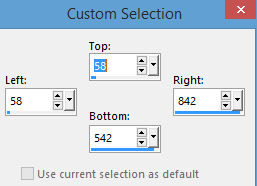
6- Ative a ferramenta > selection tool > rectangle >
custom selection
DELETE
selections > select none
7- Image > resize > all layers desmarcada > 40%
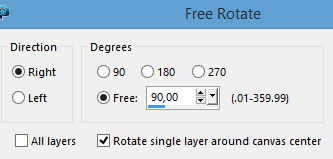
8- Image > free rotate > 90° right
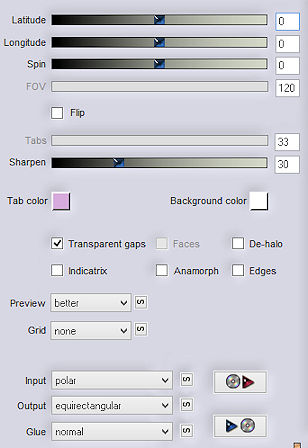
9- Plugins > Flaming Pear > Flexify 2
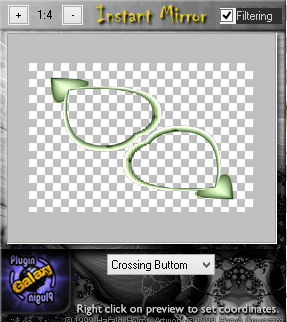
10- Plugins > Plugin Galaxy > Instant Mirror > Crossing
Bottom
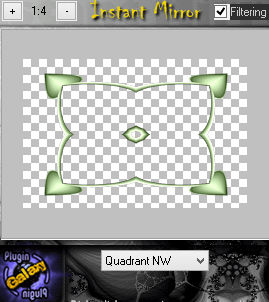
11- Plugins > Plugin Galaxy > Instant Mirror > Quadrant
NW
12- Ative a ferramenta selection tool > rectangle
selecione a figura central e delete > select > none
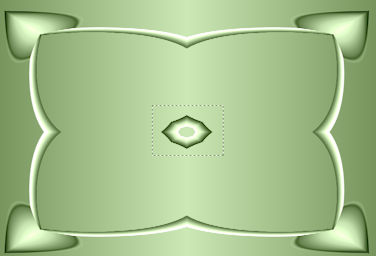
13- Com a ferrament magic wand tool selecione a parte
transparente.
tolerance > feather : 0
Selections > modify > expand > 3 pixels
14- Ative > Raster 1 > Delete > mantenha a seleção
ativa.
Selections > Invert > Layers > Duplicate
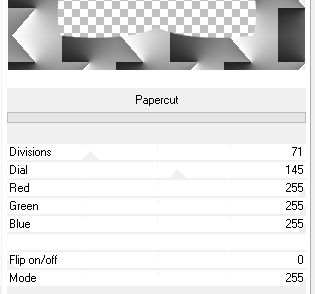
15- Pugins >
Unlimited 2.0 > VM Texture > Papercut > Default Settings
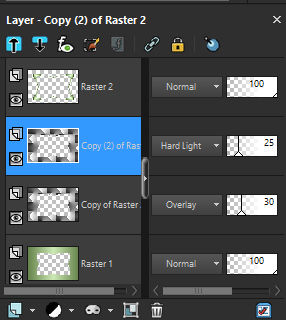
16- Layers > Properties > Blend Mode > Overlay > Opacity
> 30%
Layers > Duplicate
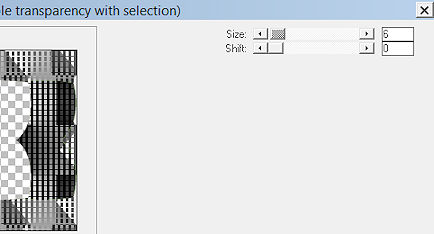
17- Plugins > L en
K’s > L en K Katherina
18- Layers > Properties > Blens Mode > Hard Light >
Opacity > 25%
Select > None
19- Ative o top layer (shape)
Effects > 3D effects > Drop Shadow > 0 / 0 / 100 / 25 /
black ou cor #2c3b21
20- Layers > Merge Visible
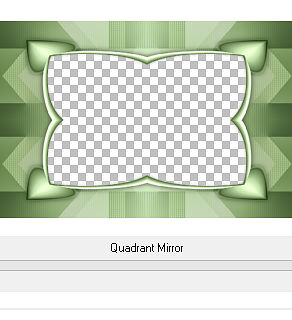
21- Plugins > Unlimited 2.0 > Tile & Mirror > Quadrant
Mirror
22- Selections > Load_Save_Selection > From Disk >
(Select1_Mai_2016_Animabelle.)
23- Nova Layer
layers > arrange > move down
copy > paste into selection > na imagem > posicione ao
centro da figura.
adjust > sharpness > sharpen
selections > select none
24- Ative top layer
Effects > 3D effects > Drop Shadow > 0 / 0 / 100 / 25 /
black ou cor #2c3b21
Layers > Merge Visible
25- Layers > Duplicate > Image > Resize > 90%
Effects > 3D effects > Drop Shadow > 0 / 0 / 100 / 25 /
black ou cor #2c3b21
26- Ative > layer merged
Adjust > Blur > Gaussian Blur > 20
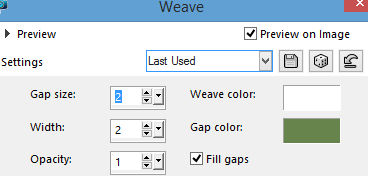
27- Effects > Texture Effects > Weave (branco e cor 1)
Adjust > Sharpness > Sharpen
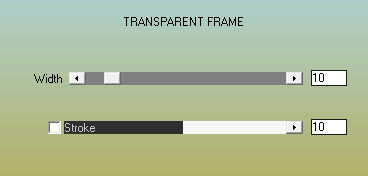
28- Layers > Duplicate
Plugins > AAA Frames > Transparent Frame
29- Effects > 3D effects > Drop Shadow > 0 / 0 / 100 /
25 / black ou cor #2c3b21
30- Ative > top
layer
Copie seus tubes, usando drop shadow.
31- Copie o texto e as flores,
colorize se preferir,
use drop shadow.
32- Layers > Merge All (flatten)
33- Assine e salve em JPG
** Traduzido para o Português em São
Paulo_Brasil_09/02/2017 por Edith Spigai **

|