|
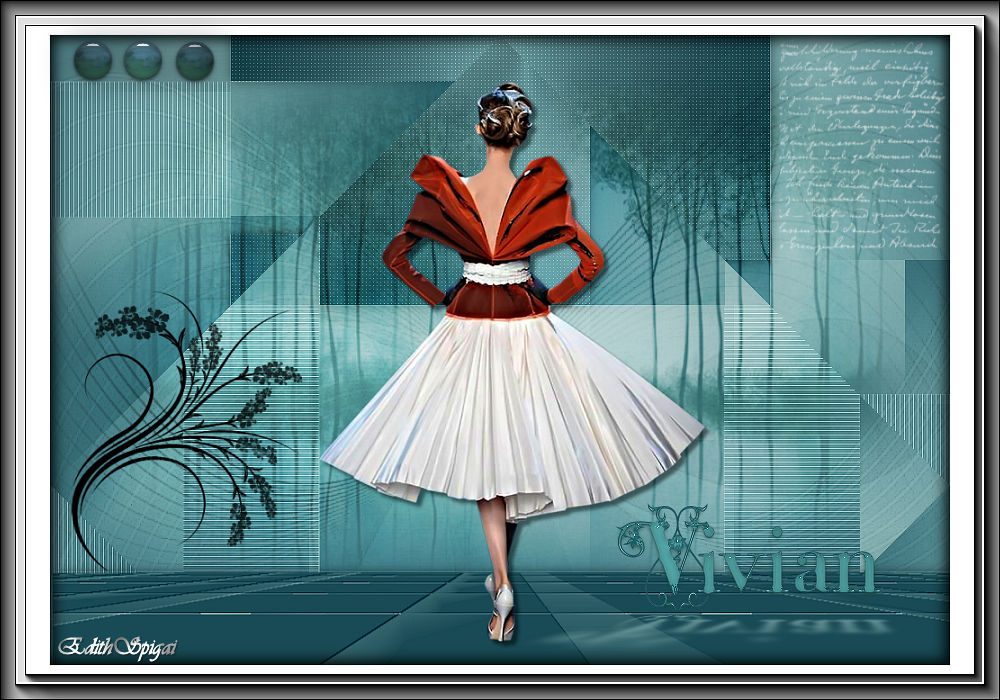
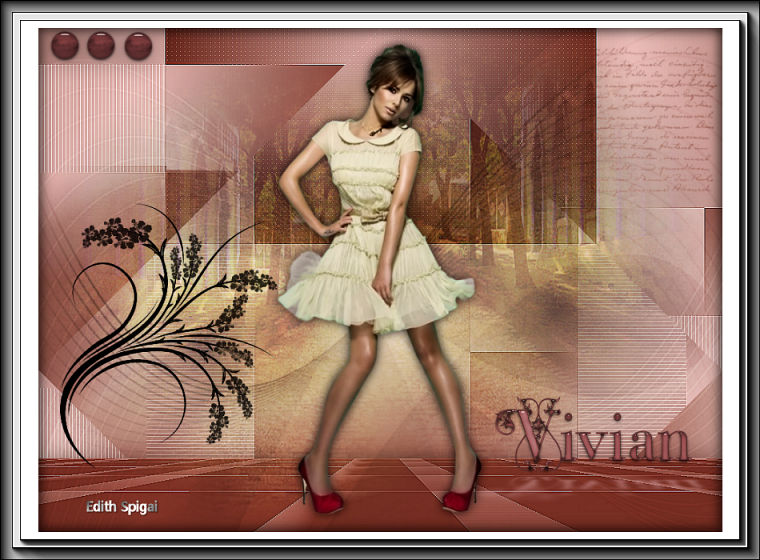
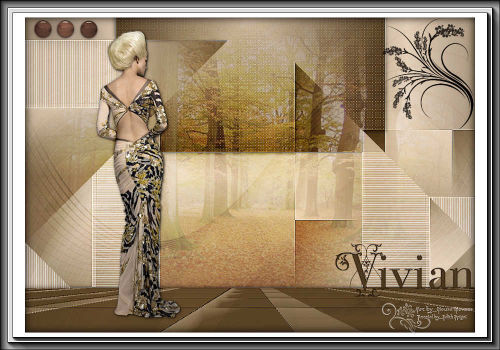
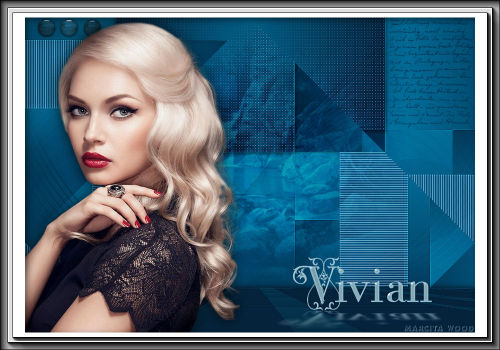
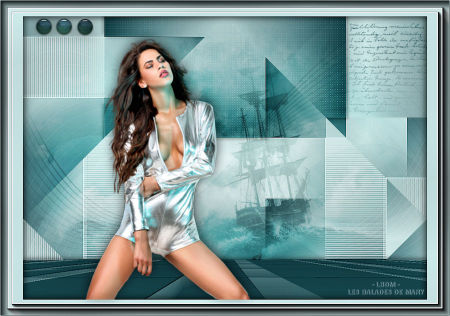
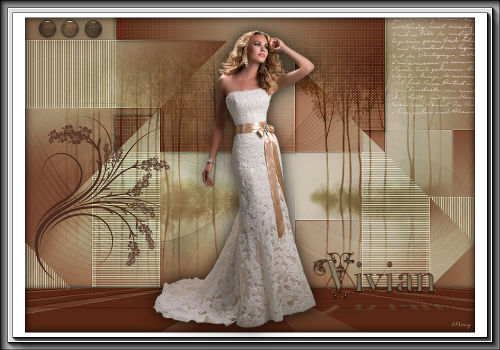
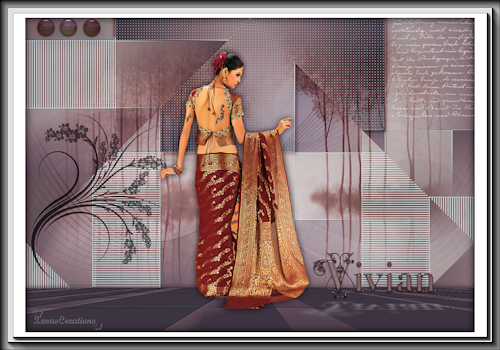
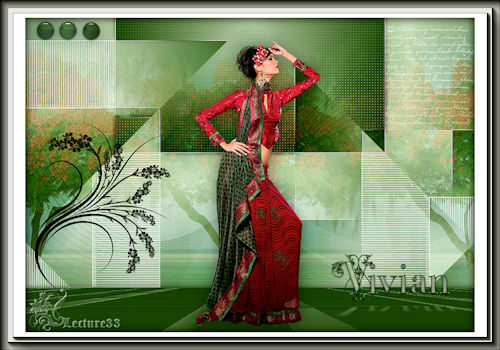
**VIVIAN**
(EdithSpigai)
MATERIAL
-Efeitos do PSP_X8
Plugin Mehdi > Sorting Tiles
Plugin Carolaine and Sensibility
Plugin MuRa's Meister
Plugin Alien Skin Candy 5: Impact
-Tube
-Misted
-Decos/Mask
ROTEIRO
1- Abra a imagem transparente Alpha_Alpha > Windows >
Duplicate.
Feche a original. Renomear para Layer Raster 1
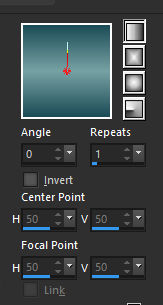
2- Preencha com um gradiente linear formado por duas
cores:
1° Plano = (#1c4b56)
2° Plano = (#77a2a4)
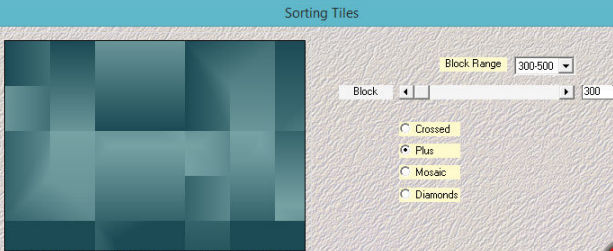
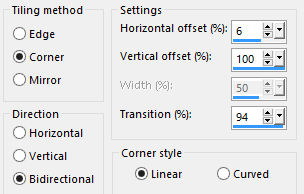
3- Plugin Mehdi > Sorting Tiles
4- Effects > Edge Effects > Enhance
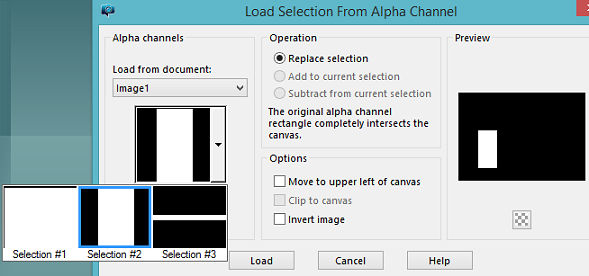
5- Selections > Load/Save Selection > Load Selection
From Alpha Channel > Selections #1
6- Layers > Promote Selection to Layer > Select None
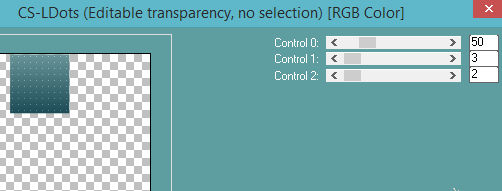
7- Plugin Carolaine and Sensibility > CS_Dots 50/3/2
8- Adjust > Sharpen More
9- Effects > Drop Shadow > 5/5/50/10 na cor preta -
repetir em negativo.
10- Effects > Image Effects > Seamless Tiling > Side by
Side
Ative Raster 1
11- Selections > Load/Save Selection > Load Selection
From Alpha Channel > Selections #2
12- Layers > Promote Selection to Layer > Select None
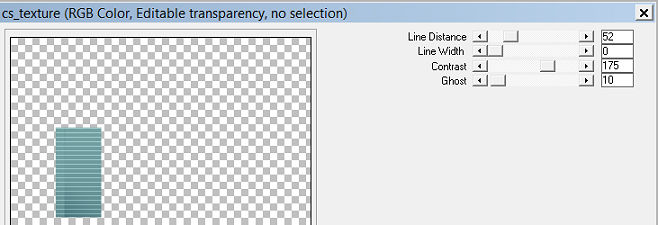
13- Plugin Carolaine and Sensibility > cs_texture >
52/0/175/10
14-Adjust > Sharpen More
15- Layers > Duplicate > Image > Mirror (horizontal)
16- Effects > Image Effects > OffSet > 49/0 - Custom e
Transparente marcados.
17- Layers > Merge Visible
18-Adjust > Sharpen
19- Selections > Load/Save Selection > Load Selection
From Alpha Channel > Selections #3
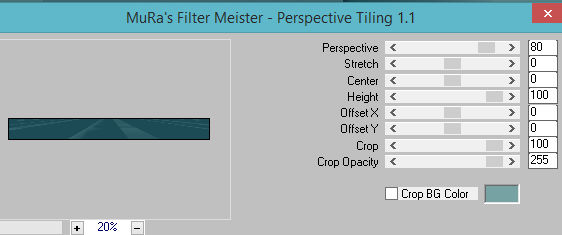
20- Plugin MuRa's Meister > Perspective Tiling >
80/0/0/100/0/0/100/255
21- Layers > Promote Selection to Layer > Select None
22- Effects > User Defined Filters > Emboss_3
23- Effects > Drop Shadow > 0/0/80/20 na cor preta
24- Na Layer Merged > Plugin Simple > Blintz
25- Nova Layer > preencher com a cor branca.
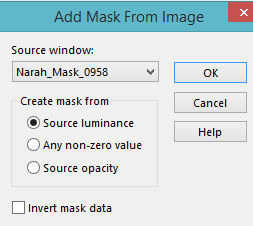
26- Layers > New Mask layer > From Image >
Narah_Mask_0958
27- Layers > Merge Group
28- Effects > Edge Effects > Enhance
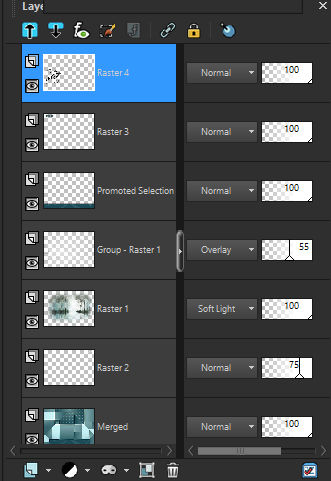
29- Layers > Opacity 55% > Blend Mode > Overlay (ou
outro)
30- Ative a Layer Merged > Select All
31- Edit > Copy no Misted > Nova Layer > Past Into
Selection > Select None
32- Layers > Blend Mode > Soft Ligth ( ou outro)
33- Ative a Layer Merged > aplique o texto em anexo (ou
outro) com a ferramenta Paint Brush
do lado superior direito > Opacity 75
34- Ative a Layer Top e Aplique o deco_vivian do lado
superior esquerdo (colorize se necessario)
35- Aplique o Deco Floral e posicione como resultado
final da Tag
36- Ative a ferramenta Text Escreva o nome Vivian

37- Plugin Alien Skin Candy 5: Impact > Glass > Clear (
ou outro)
38- Plugin Alien Skin Candy 5: Impact > Perspective
Shadow > Reflect in Front
Na Aba Basic ecolha a cor desejada.
39- Cole seu tube usando Drop Shadow
40- Merge Visible
41- Image > Rezise 90% (All Layers desmarcado)
42- Com Magic Wand selecione a parte transparente e
preencha com a cor branca.
43- Plugin AAA Frames > Foto Frame
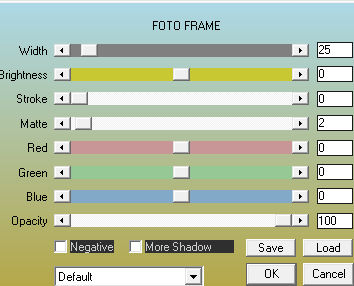
44- Repetir o item 42 modificando Width > 15
45- Effects > Drop Shadow > 5/5/50/20 na cor preta -
repetir em negativo.
Select > None
46-Plugim AAA Filters > Custom > Sharp (ou como
preferir...)
47- Layers > Merge All
48- Assine e salve em jpeg.
** Tutorial Elaborado em São Paulo_Brasil_09/08/2017 por
Edith Spigai **
CRÉDITOS:
Tube: By Thafs
Misted: By Tatie
Mask: Narah
Tutorial: Edith Spigai
|
Neusa
 |
Vera Mendes
 |
Animabelle
 |
|
Annick
 |
Isabella
 |
Marcita
 |
|
Mary
 |
Mony
 |
Viviane
 |
|
Xena
 |
Garances
 |
Martine
 |
|
Ivette
 |
|
|

|