1- Escolha um Misted colorido, abra na Área de Trabalho, Edit > Copy, minimize e reserve.
2- Abra uma New Image -Transparent de 900 x 600 px > Selection > Select All
3- Edit > Past Into Selection > Selections > Select None
4- Effects > 3D Effects > Seamless Tiling > Default > Merge All >
Promote Backgroud Layer
5- Adjust > Blur > Radial Blur > Twirl > 100/38/0/0/50 > Elliptical marcado.
6- Enhance More
7- Plugim VM Distortion > Kaleidoscope > 209/128/255
8- Adjust > Sharpen More
9- Layers > Duplicate
10- Image > Resize > 15%
11- Com a ferramenta Magic Tool, selecione > Modify > Select Selections Border > 4
12- Nova Layer preencha com uma cor sólida.
13- Inner Bevel > Bevel_2 > 9/23/7/-30/25/197/44/53 (branco)
Select > None
14- Layers > Merge Down
15- Image > Free Rotate > Left > 90 (Reserve esta layer)
Adjust > Sharpen
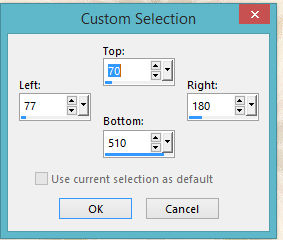
16- Ative a Raster 1 > Ferramenta Selection Tool > Rectangle > Custom Selection
T:70/L:77/R:180/B:510
17- Promoter Selection to Layer
18- Effects > Drop Shadow > 0/0/80/25 (preto)
Select > None
19- Adjust > Sharpen More
20- Ative a cópia da layer > Effects > Image Effects > OffSet > (-323) /(0)
Custom e Transparente marcados.
21- Layers > Merge Down > Layers Duplicate > Image > Mirror Horizontal > Merge Down.
22- Ative a raster 1 > Layers > Duplicate
23- -Plugin MuRa's Meister > Perspective Tiling > 60/43/0/15/0/0/100/255
Adjust > Sharpen
24- Effects > Drop Shadow > 0/0/80/25 (preto)
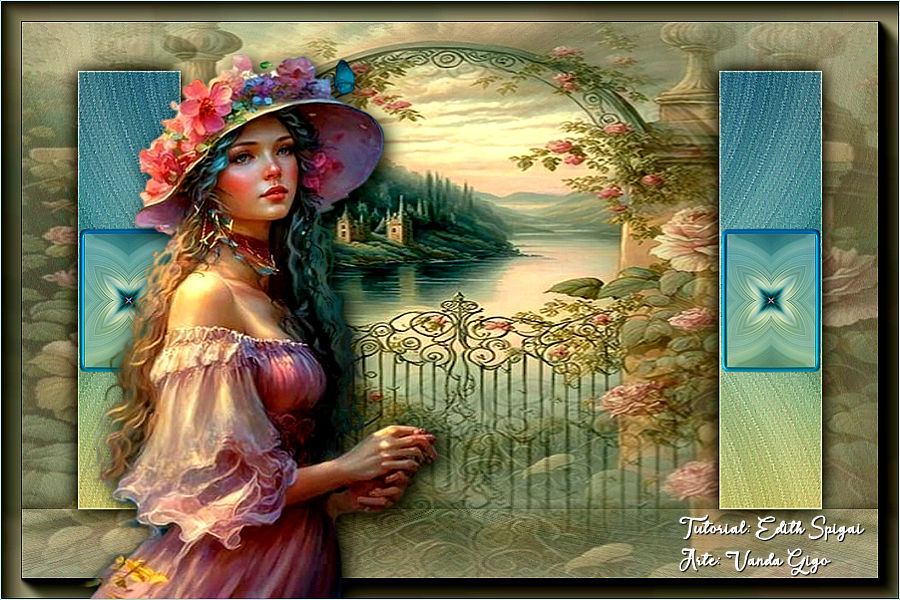
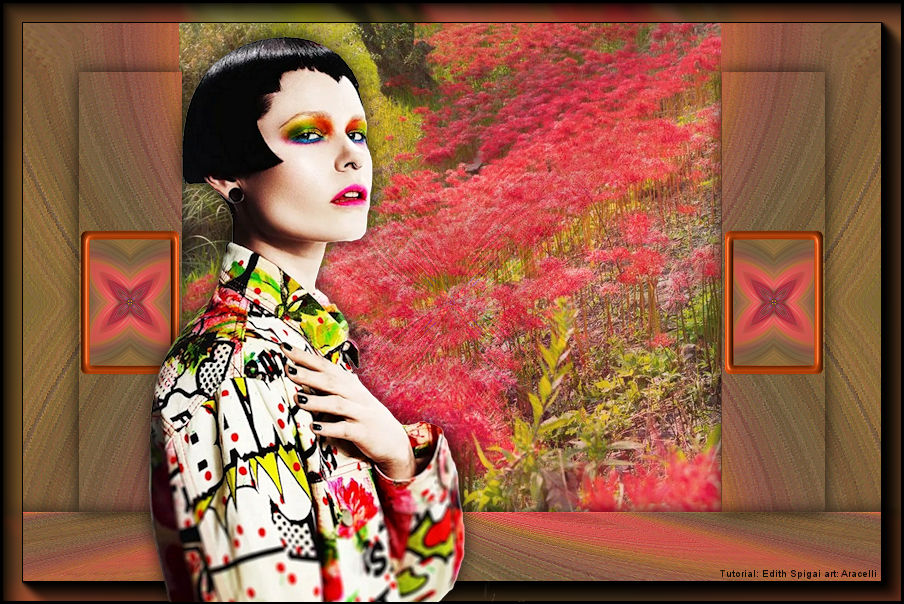
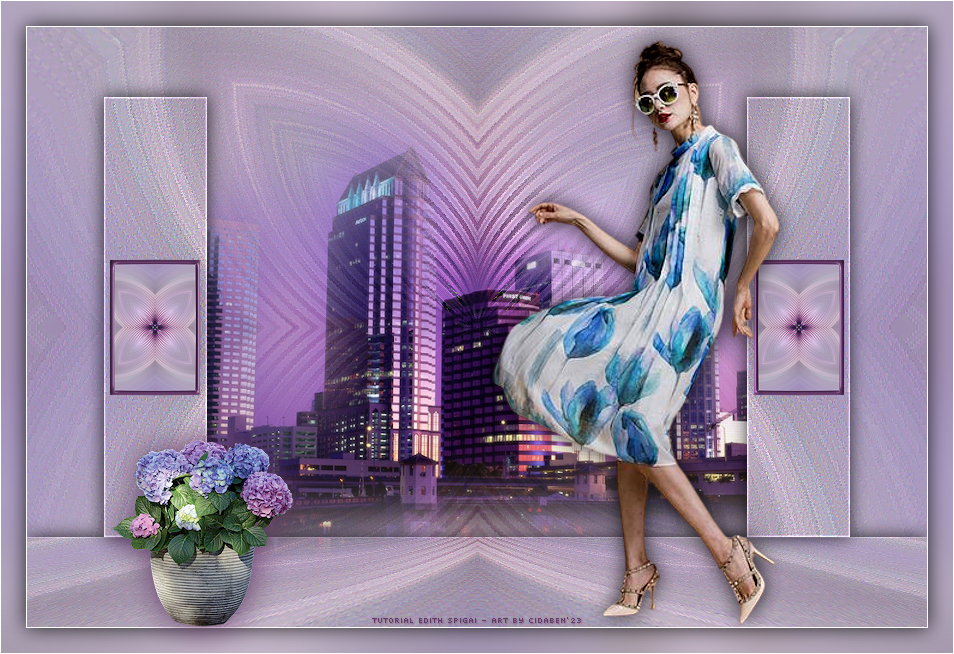
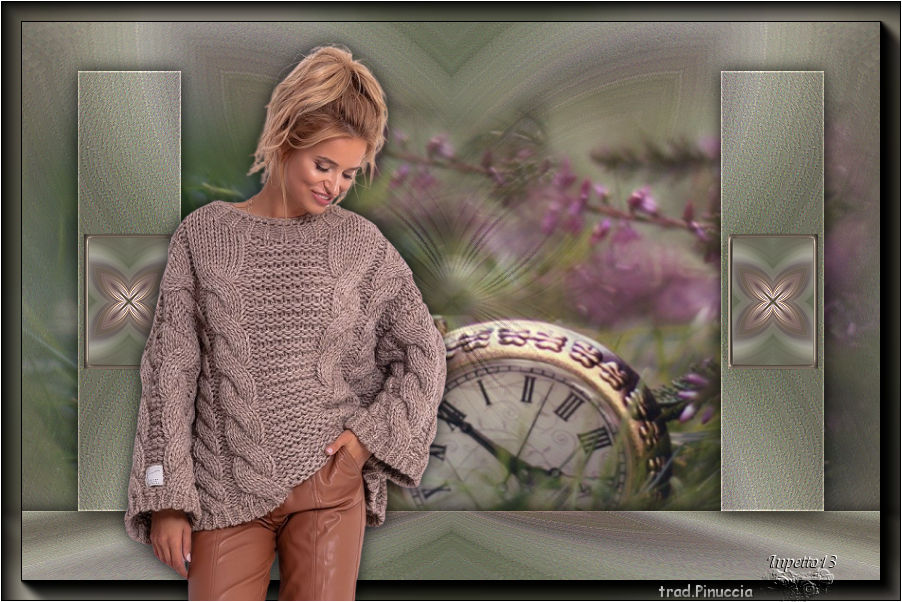
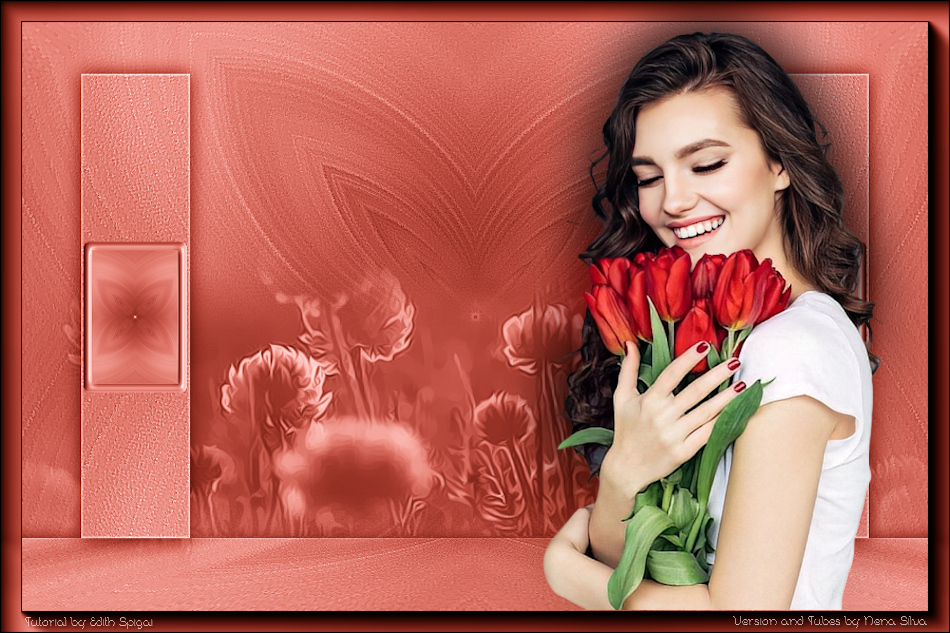
25- Aplique o misted posicionando na parte inferior > Visibilidade 70%
26- Plugin AAA Frames > Foto Frame > Width: 20 > Demais (Default) repita o efeito novamente.
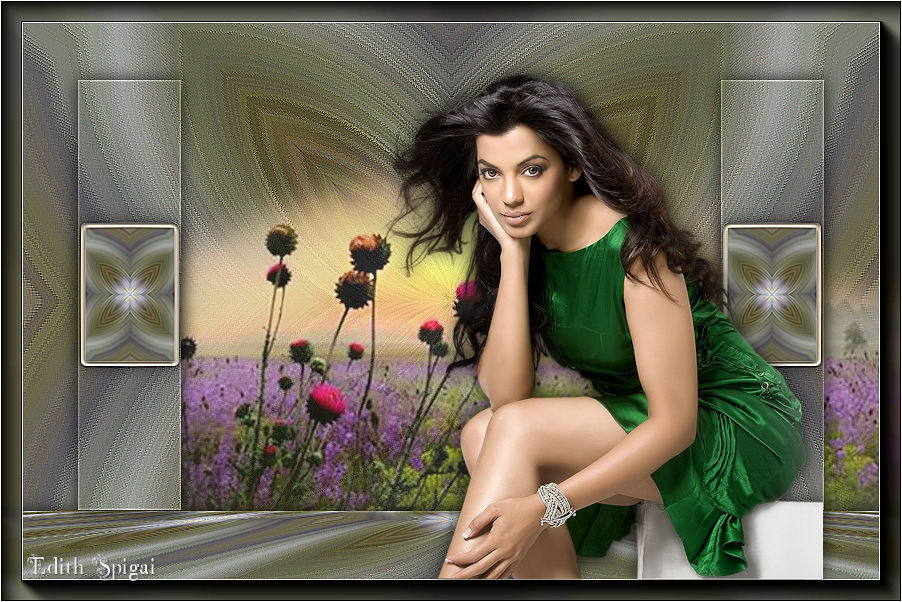
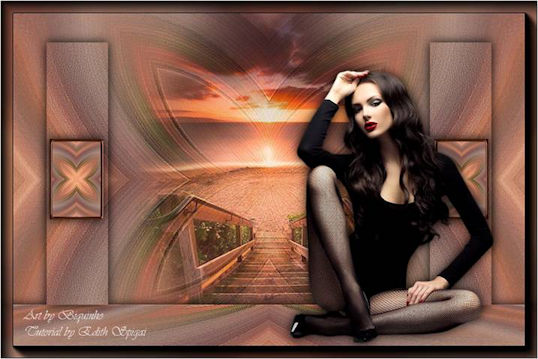
27- Cole seu tube usando Drop Shadow
28- Image > Add Borders > 1 px (branco)
29- Adjust > Brightness and Contrast > Brightness/contrast > -25 /0
30- Layers > Merge All
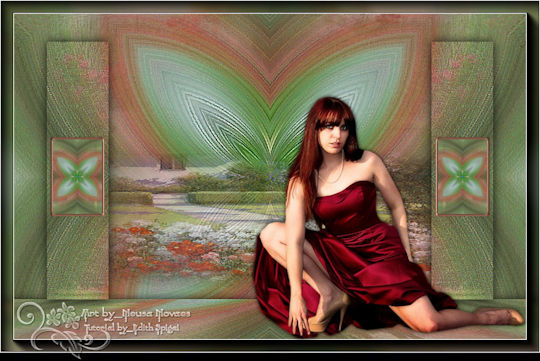
31- Assine e salve em jpeg.
** Tutorial Elaborado em São Paulo_Brasil_18/07/2019 por Edith Spigai **