|
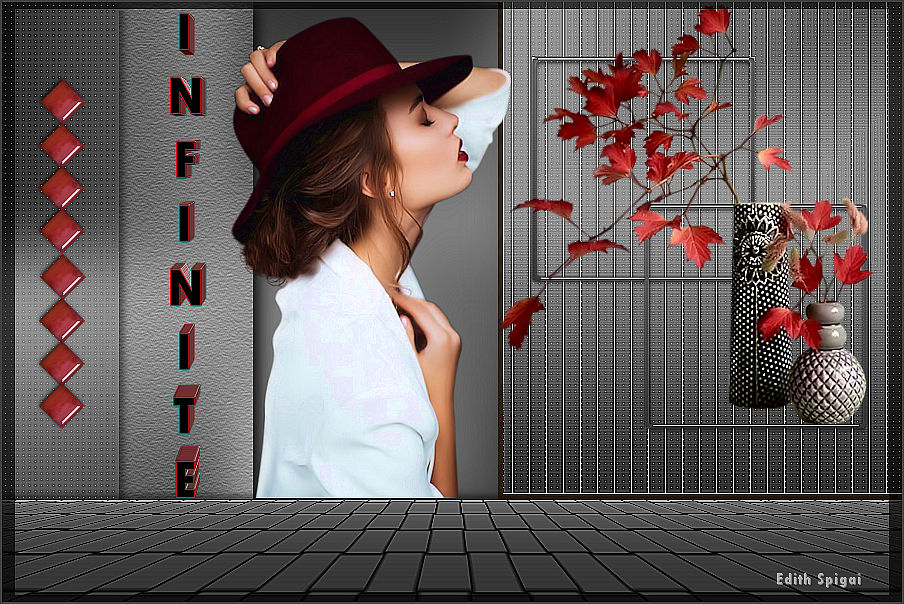
**
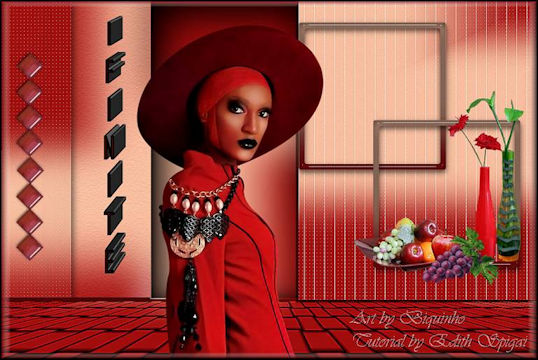
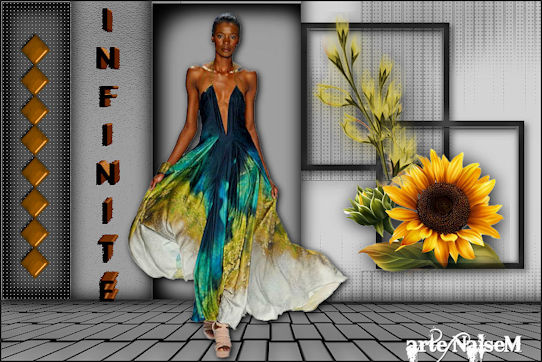
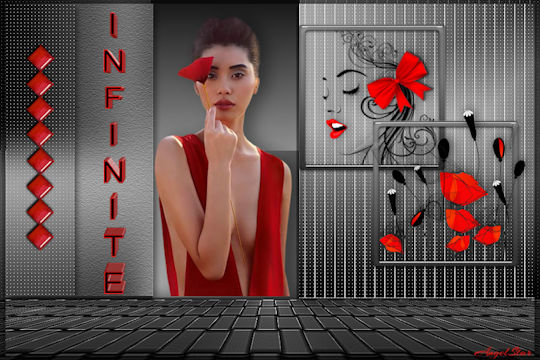
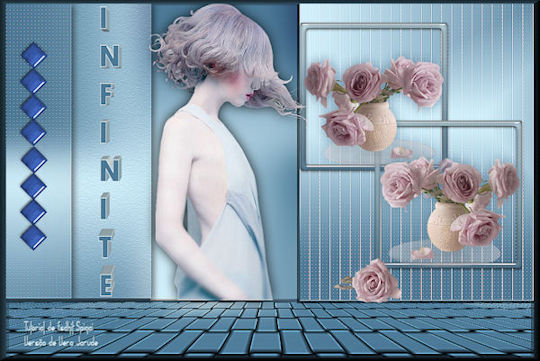
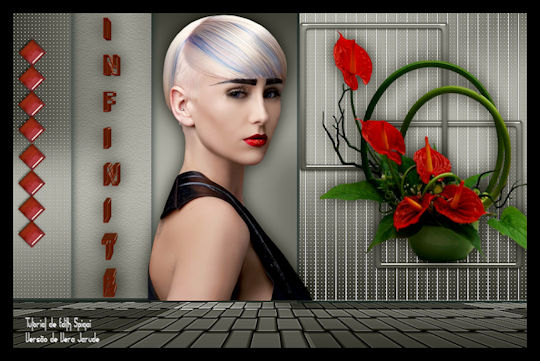
INFINITE **
(EdithSpigai)
MATERIAL
Efeitos do PSP_X8
Plugin Mehdi > Sorting Tiles
Plugin Neology > Line Art
Plugin Carolaine and Sensibility > CS_LDots
Plugin Texture > Texturizer
Plugin MuRa's Meister > Perspective Tiling
Plugin AAA Filters > Custom
TubeS/Deco
ROTEIRO
1- Abra a imagem transparente de 900 x 600.
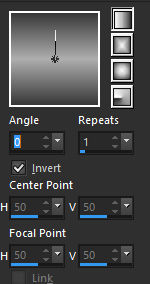
2- Preencha com um gradiente linear formado por duas
cores:
1° Plano = ( #aeaeae)
2° Plano = (#383838)
3- Adjust > Gaussian Blur > 20
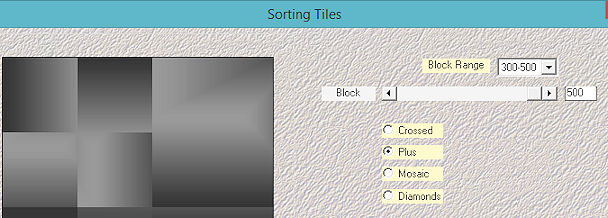
4- Plugin Mehdi > Sorting Tiles:
5- Effects > Enhance
6- Selections > Load/Save Selection > Load Selection
From Disk > selection_1
7- Promote Selection to Layer > Select > None
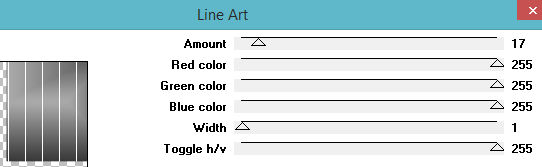
8- Plugin Neology > Line Art > 17/255/255/255/1/255
9- Plugin Carolaine and Sensibility > CS_LDots > 124/3/2
10- Adjust > Sharpen
11- Effects > Drop Shadow > 5/-5/50/1,00 na cor preta
#000000.
12-Ative a Raster 1 > Selections > Load/Save Selection >
Load Selection From Disk > selection_2
13- Promote Selection to Layer
14- Selections > Modify > Contract > 10
15- Delete no teclado > Select None
16- Plugin Alien Skin Eye Candy Impact > Glass > Clear
17- Layers > Arrange > Bing to Top
18- Effects > Image Effects > OffSet > (500) /(215) -
Custom e Transparente marcados
19- Duplicate Layer
20- Effects > Image Effects > OffSet > (125) /(-164) -
Custom e Transparente marcados
21- Layers > Merge Down
22-Ative a Raster 1 > Selections > Load/Save Selection >
Load Selection From Disk > selection_3
23- Promote Selection to Layer
24- Adjust > Gaussian Blur > 30,00 - Select > None
25- Plugin Carolaine and Sensibility > CS_LDots 124/3/2
26- Adjust > Sharpen
27- Effects > Drop Shadow > 5/5/50/15,00 na cor preta
#000000.
28- Ative a Raster 1 > Selections > Load/Save Selection
> Load Selection From Disk > selection_4
29- Promote Selection to Layer
30- Adjust > Gaussian Blur > 30,00 - Select > None
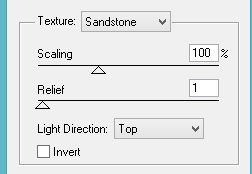
31- Plugin Texture > Texturizer
32- Effects > Drop Shadow > 5/5/50/15,00 na cor preta
#000000.
33- Ative a Raster 1 > Selections > Load/Save Selection
> Load Selection From Disk > selection_5
34-Promote Selection to Layer
35- Adjust > Gaussian Blur > 30,00 - Select > None
36- Effects > 3D effects > Cutout
37- Ative a Raster 1 > Duiplicate.
38- Adjust > Gaussian Blur > 30,00
39- Plugin Neology > Digital Weaver > 33/76
40- -Plugin MuRa's Meister > Perspective Tiling >
60/43/0/16/0/0/100/255
41- Adjust > Sharpen More
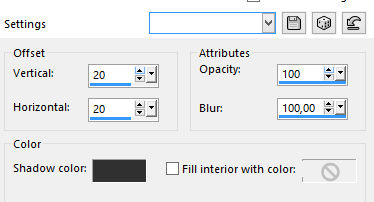
42- Effects > Drop Shadow > 0/0/80/40,00 na cor preta
#000000.
43- Cole o Deco_Infinite Na layer promoted selection 2
44- Na layer promote selection 3 > digite a palavra
Infinite.

45- Plugin Alien Skim Eye Candy 5: Impact > Extrude >
Small Ofset. No Smoothing
46- Na layer promoted selection 1 > Aplique o Floral
47- Aplique o tube na promoted selection 4
48- Layers > Merge Visible
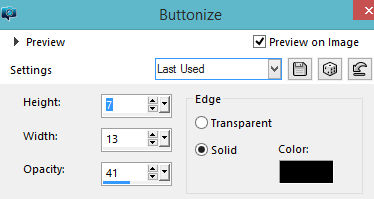
49- Effects > Buttonize > 2 vezes
50- Image > Add Borders > 2 pxs na cor escura do seu
trabalho
51- Plugin AAA Filters > Custom > Sharp
52- Layers > Merge All
53- Assine e salve em jpeg.
** Tutorial Elaborado em São Paulo_Brasil_04/05/2019 por
Edith Spigai **
Créditos:
Tube: LB Tubes
Floral: LB Tubes
Tutorial: Edith Spigai

|